The Acrylic Nail Fill Process is an essential part of maintaining acrylic nails, ensuring they remain strong, polished, and beautiful as they grow out. Regular fills prevent lifting, chipping, and uneven nail surfaces, helping you keep your manicure looking fresh and professional.
Whether you’re a nail artist, a beginner, or someone who loves acrylic nails, understanding the fill process is key to long-lasting results. This guide covers everything from preparation to finishing touches for flawless acrylic nails.
🌸 What Is an Acrylic Nail Fill?
An acrylic nail fill is a maintenance procedure where new acrylic is applied to the growth area near the cuticle, blending it seamlessly with the existing nail enhancement.
Key Features:
- 💅 Fills gaps caused by natural nail growth
- ✨ Maintains smooth and even surface
- 🌿 Prevents lifting or breakage
- 🛠️ Extends the life of your acrylic nails
Fills are typically done every 2–3 weeks, depending on nail growth and lifestyle.
🔥 Why Regular Fills Are Important
💎 1. Maintain Strength
Filling strengthens the nail and prevents cracks or breaks.
⚡ 2. Keep Nails Polished
A fill ensures nails look seamless, even as they grow out.
🌿 3. Protect Natural Nails
Proper maintenance reduces damage to the natural nail underneath.
📸 4. Professional Appearance
Perfectly filled nails are ideal for photo-ready, salon-quality results.
🛠️ Tools & Materials Needed
- Acrylic powder and liquid monomer
- Nail primer or dehydrator
- Acrylic brush
- Nail file and buffer
- Cuticle pusher
- Acrylic remover (for old nails)
- Top coat (optional)
💡 Pro Tip: Always work in a well-ventilated area and use high-quality acrylic products for best results.
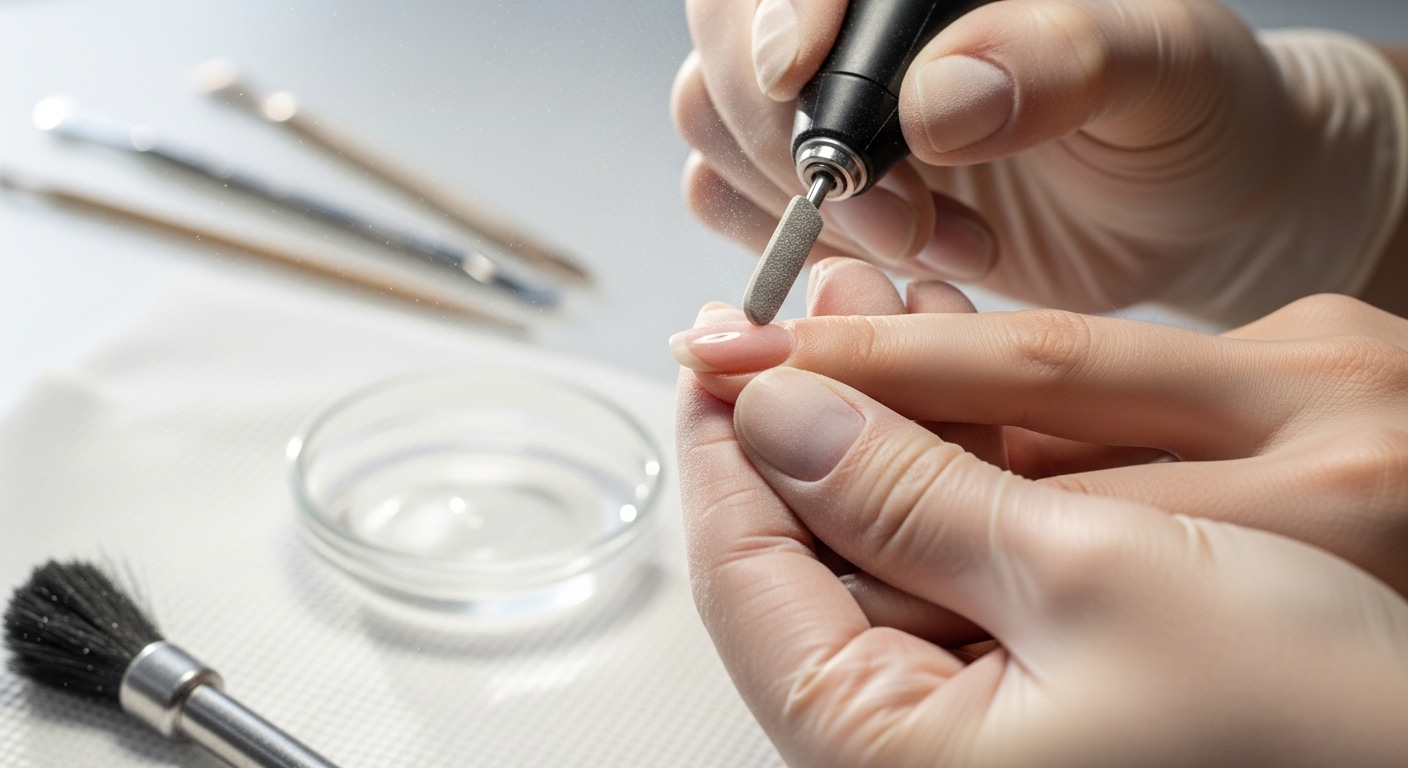
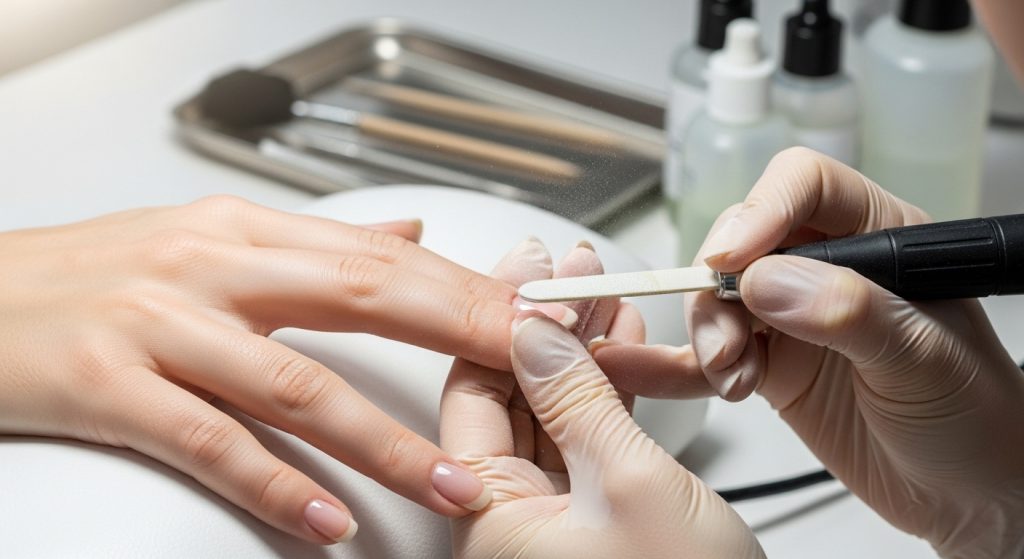
🧑🎨 Step-by-Step Acrylic Nail Fill Process
Nail Preparation
- Remove polish or residue
- Push back cuticles
- Lightly buff the nail surface
Apply Primer
- Use dehydrator or primer to remove oils
- Helps acrylic adhere better
Apply Acrylic to Growth Area
- Dip brush in monomer, then acrylic powder
- Apply to the gap near the cuticle
- Shape and blend with existing acrylic
Shape & Buff
- File nails to desired shape
- Smooth surface with buffer
Finish with Top Coat
- Optional: Apply top coat for shine and protection
- Cure if using gel top coat
💡 Expert Tips
- ✔ Work carefully to avoid flooding the cuticle
- ✔ Use a small bead of acrylic for precise control
- ✔ Blend seamlessly for a natural look
- ✔ Keep nails clean and hydrated between fills
- ✔ Schedule fills every 2–3 weeks for best results
⚠️ Common Mistakes
- ❌ Over-applying acrylic
- ❌ Skipping primer or dehydrator
- ❌ Poor blending with existing nail
- ❌ Ignoring cuticle care
- ❌ Filing too aggressively
🎯 Who Should Get Acrylic Fills?
- Acrylic nail wearers wanting longer-lasting nails
- Nail artists maintaining client’s nails
- Anyone looking to prevent breakage and uneven growth
📝 Final Thoughts
The Acrylic Nail Fill Process is key to maintaining strong, beautiful, and seamless nails. Regular fills not only enhance the durability of acrylic nails but also keep them looking fresh and professional. Mastering this process ensures your nails remain stylish and well-maintained.